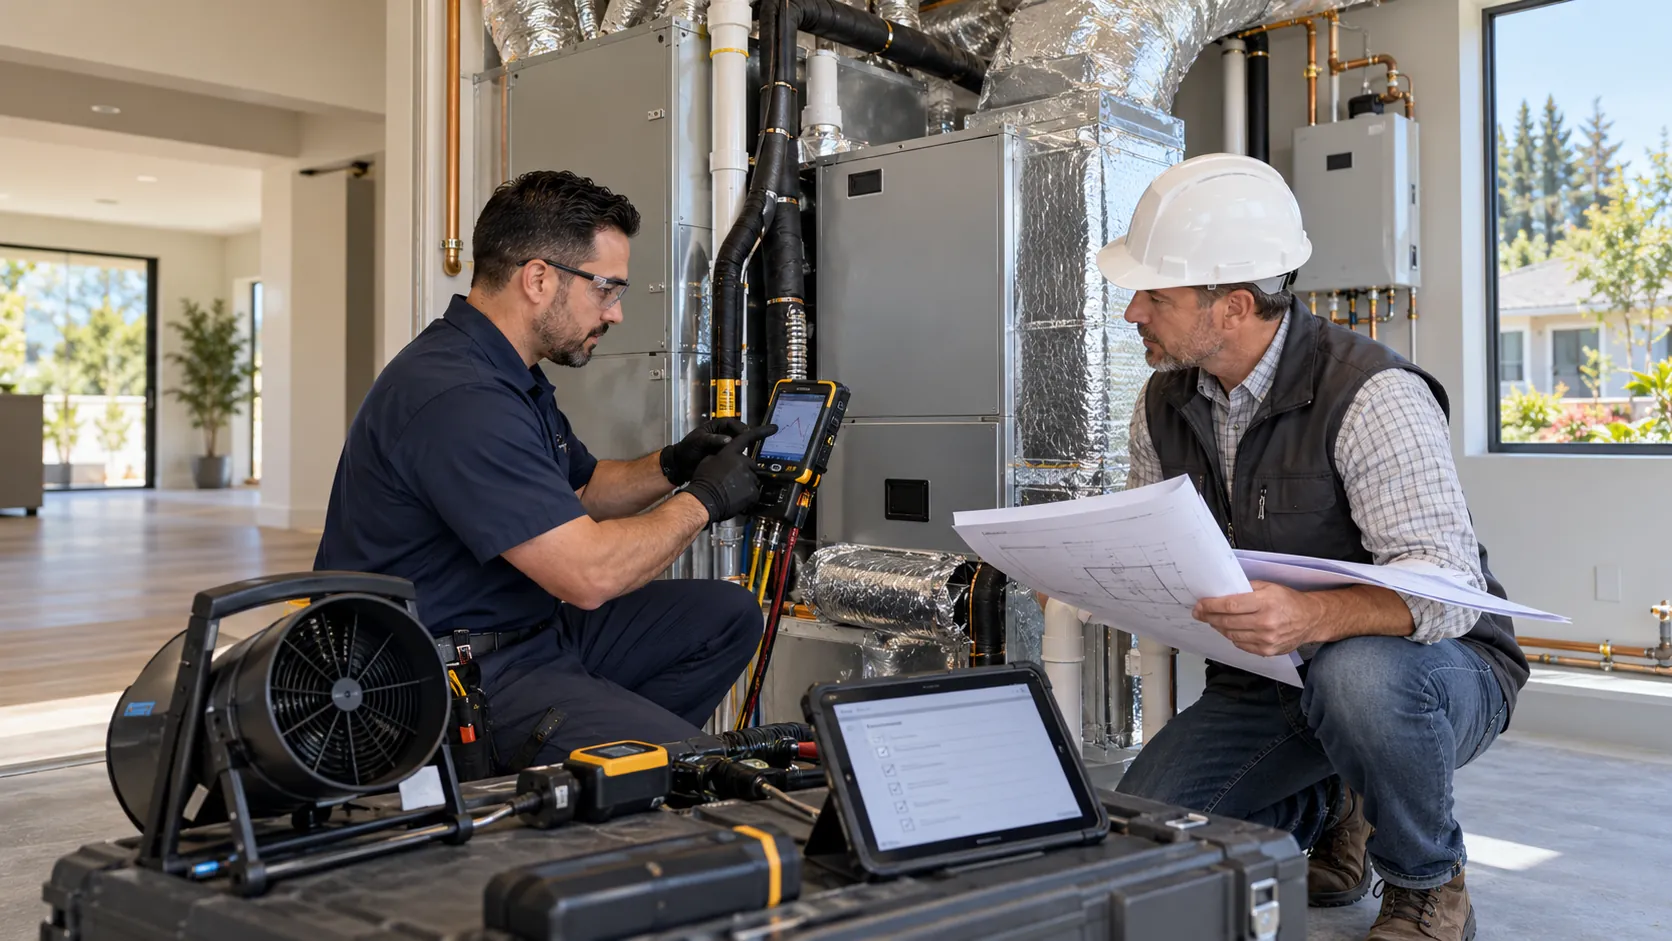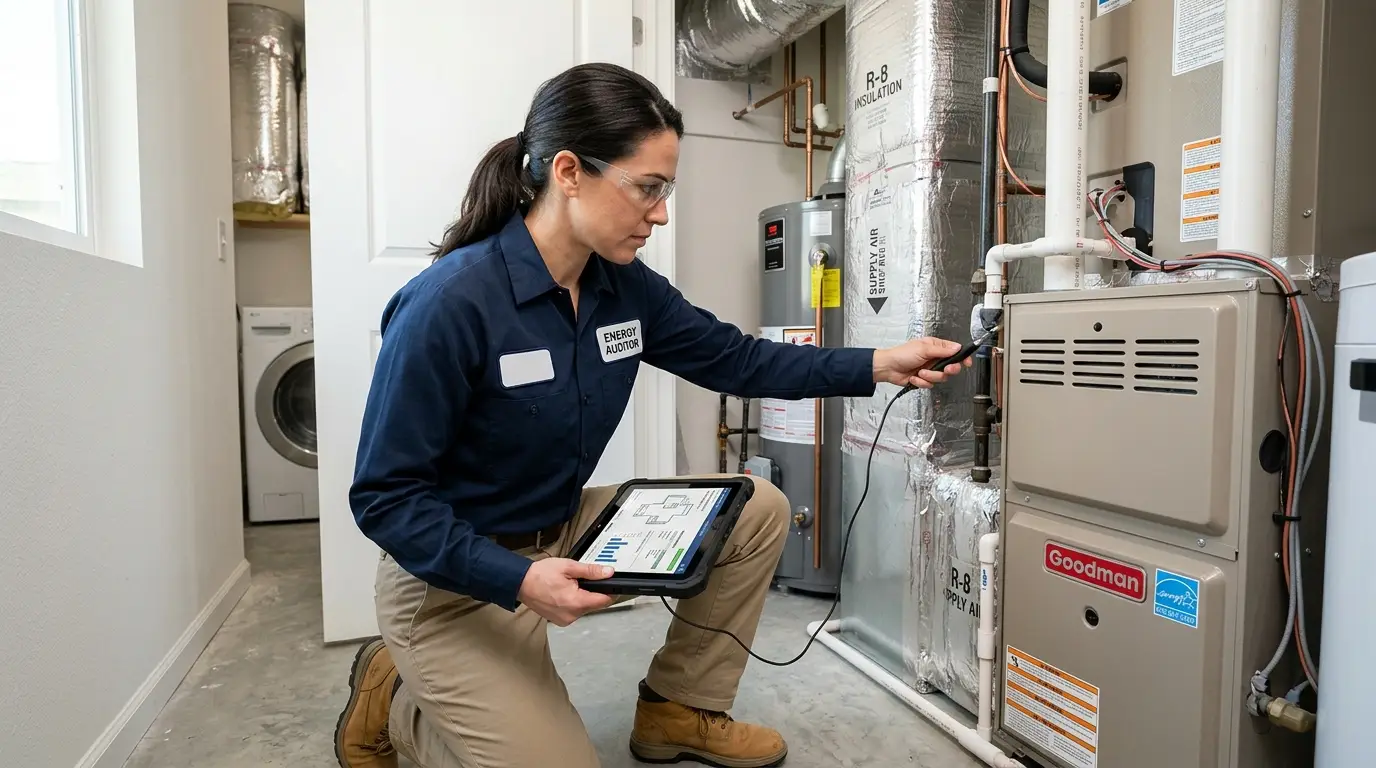
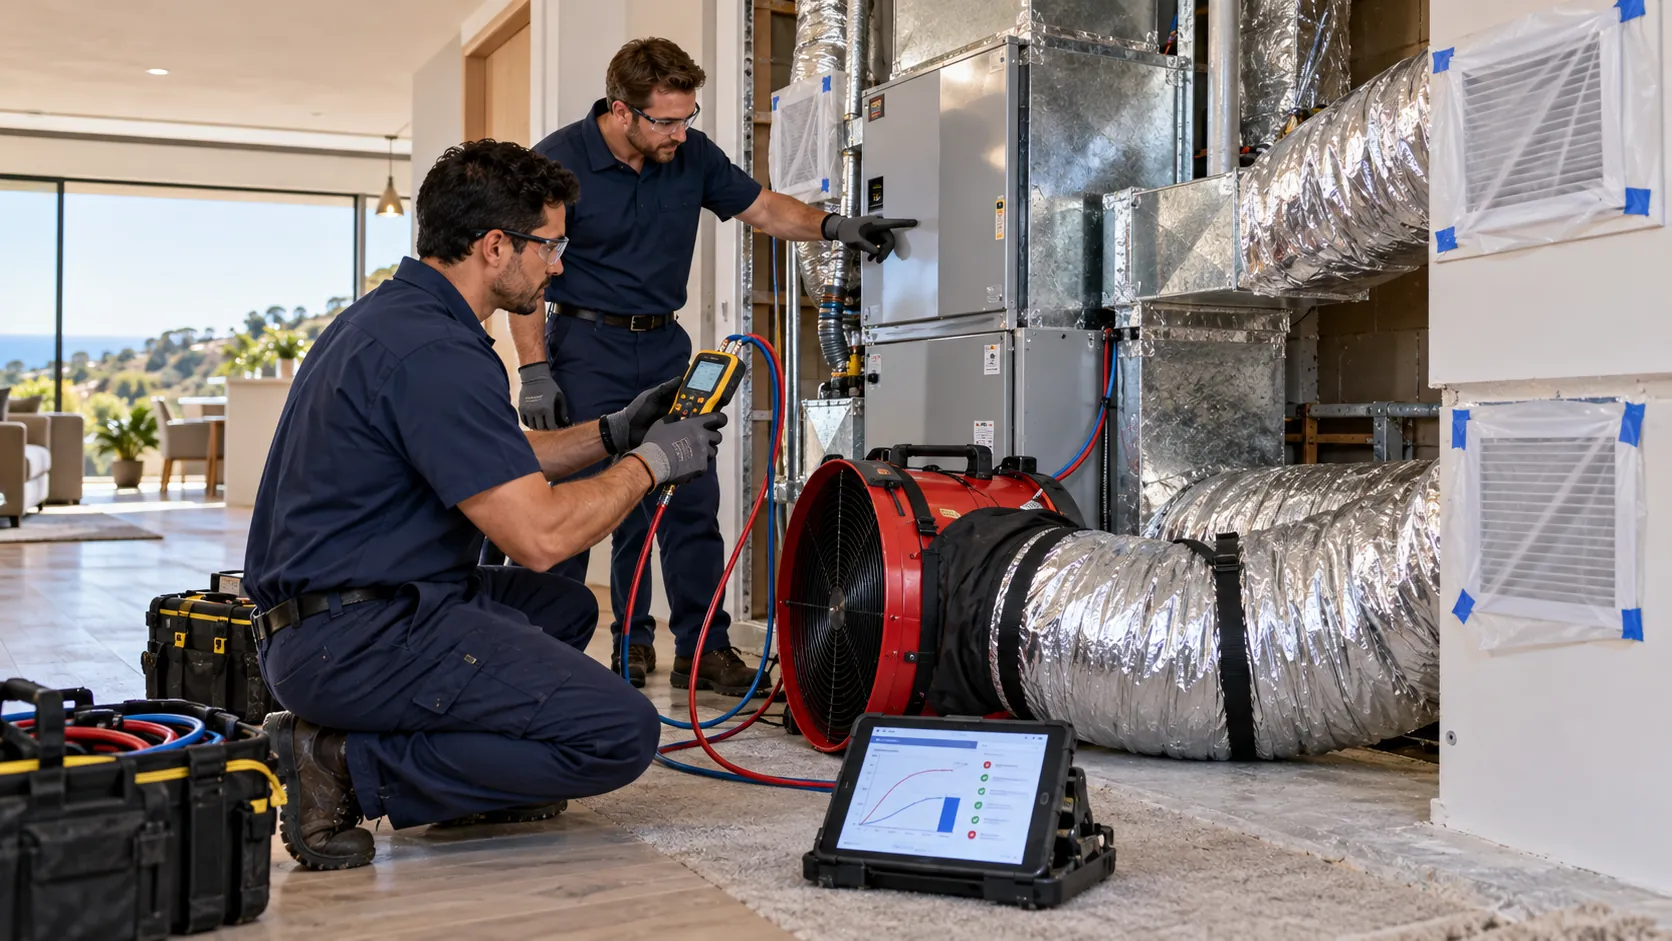

A failed duct leakage test can hold up construction approvals. Raise project costs. Knowing why a duct leakage test fails helps homeowners, builders and HVAC contractors spot problems before an inspection. From connections to damaged ductwork fixing these common problems early can boost system efficiency and help meet California’s energy code requirements.
What Is a Duct Leakage Test? Why Does It Matter?
The amount of air that escapes the HVAC duct system is determined by a duct leakage test. A testing professional uses tools to manage the duct recorded and amount of air leakage. A passing result indicates that the required leakage limit is met by the duct system. It can also cut energy and improve the comfort of inside the property.
Why Does a Duct Leakage Test Not Work?
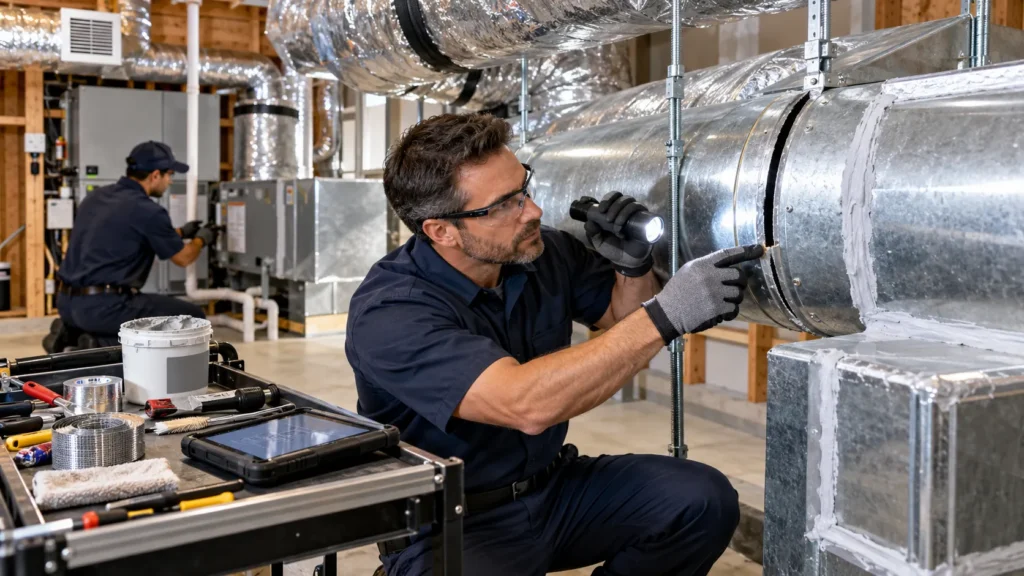
A duct leakage test usually fails when the measured air leakage goes beyond the required limit or when the system does not meet the needed testing conditions. Common reasons are connections, damaged ducts, poorly sealed joints, gaps around registers and wrong installation. Finding these problems before testing gives contractors a chance to fix them and avoid retesting costs.
Loose or Poorly Sealed Duct Connections
Loose duct connections are a cause of too much air leakage. Duct sections must join securely conditioned air moves through the system instead of leaking into attics, crawl spaces or wall cavities.
Connections can loosen from installation, vibration or weak fastening. Flexible ducts can also pull away from collars when clamps are missing or placed wrong.
How to fix it: Inspect connections and tighten loose sections, with proper fasteners and approved sealing materials. HVAC contractors should verify that flexible ducts are firmly attached to metal collars and that connections stay tight during use. Just tightening a connection without sealing the joint may not solve the problem.
Damaged, Disconnected or Crushed Ductwork
Physical damage can really hurt duct system performance. Flexible ducts may get crushed under stored items, damaged during construction or disconnected when workers move through a crawl space.
Disconnected ducts let conditioned air escape while crushed sections block airflow and can cause comfort issues. Tears, punctures and worn materials can also make a duct leakage test fail.
How to fix it: Replace damaged sections and reconnect split ductwork. Small damage may be repaired with materials that are approved for HVAC use. Contractors should also support ducts properly and clear any obstructions that compress them. After repairs the system should be inspected to make sure the ductwork is secure and clear.
Improperly Sealed Duct Joints and Seams
Duct joints and seams need sealing to prevent air from escaping through small openings. Problems can occur when installers skip sealing steps, use materials or apply sealant incorrectly. Standard household adhesive tape is not necessarily suitable for long-term duct sealing. Heat, dust and fluctuating temperatures can influence the product causing seals to deteriorate with time.
Clean the affected surface then apply an appropriate duct sealant or approved sealing product according to instructions given by the manufacturer. Mastic and listed HVAC sealing tapes may be suitable for applications. Contractors should assess joints carefully. Allow sealant to cure when needed before testing the system again.
Leaks Around Registers, Boots and Air Handler Connections
Air can escape through gaps where ductwork is associated to register ceiling boots or the air handler. These kinds of openings may develop when components are poorly installed or sealing materials are not adjusted in the proper manner.
Air handler connections need proper attention; they link major tools components to the duct system. Relatively small gaps can manage the excessive leakage when several openings exist throughout the property.
How to fix it: Inspect register boots, equipment connections and accessible transitions for gaps. Seal joints using compatible materials and ensure components fit securely. Where a connection is difficult to access, a qualified HVAC contractor can determine the repair method. Avoid blocking designed ventilation openings or interfering with equipment operation.
Incorrect Duct Installation and Workmanship
Poor installation practices can create leakage points throughout an HVAC system. Examples include flexible ducts, excessive bending, poorly fitted transitions and incorrectly sized connections.
When ducts are installed without following the design specifications the system may experience both leakage and airflow problems. Incomplete inspections during construction can allow these issues to remain hidden until formal testing begins.
Review the duct patterns. Always compare the installation when managing plans and demand. Correct supported sections and replace suitable fitting and secure the connections. Contractors should assess the system rather than repairing only the most obvious task. This kind of approach helps in addressing the underlying installation issues before the test.
How Can You Identify Duct Leakage Problems Before Testing?
You can identify the potential duct leakage problems through a preliminary assessment. Always look for the flexible ducts, visible tear and loose gaps. Make sure to manage the accessible connections and damage the sealing material.
Other signs may include such as room temperature, weak airflow and excessive HVAC equipment that run longer than expected. However, these kinds of symptoms do not automatically confirm duct leakage. A professional assessment can assess issues and determine that either diagnostic testing is needed or not. Avoid entering attics or crawl spaces without suitable precautions.

How to Fix Duct Leakage Issues Before a Retest
Before scheduling a retest, ask HVAC contractors to assess the accessible duct system. Repair sections, seal leaking joints, replace damaged ducts and correct installation issues. The contractors should also confirm that the system is configured correctly for the required test and that all applicable openings are treated according to procedure.
Once repairs are complete a preliminary leakage check may help identify issues. Keep records of the repairs. Coordinate the next appointment when the system is ready. Proper preparation can reduce visits, unexpected expenses and construction delays.
How Can Contractors Avoid Failures in Duct Leakage Tests?
Duct joints and seams need sealing to prevent air from escaping through small openings. Problems can occur when installers manage the sealing steps, choose material or apply in the proper manner. Standard household adhesive tape is not as much necessary suitable for long term duct sealing. Heat and dust can change the temperature and can affect the products causing seals to manage with time.
Clean the affected areas. Make sure to apply appropriate sealant and approved products according to instructions. Mastic and listed HVAC sealing taps may be best for suitable application. Experts should inspect in a careful manner and allow the sealant to cure.